
Tip & Trick
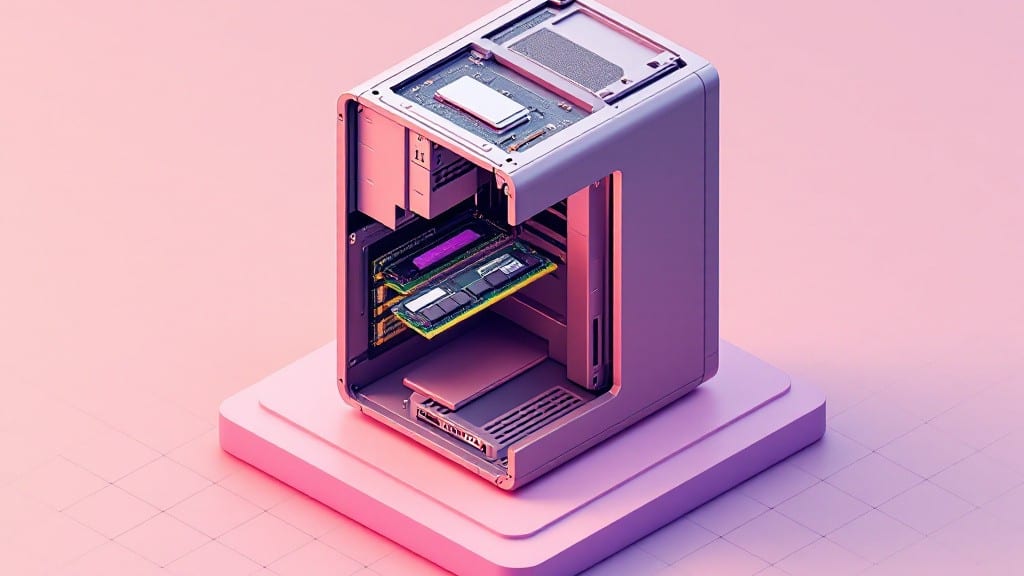
Installing RAM in a desktop PC is easier than you think—especially when you know the right steps. I’ve installed memory in everything from my uncle’s 1998 Gateway to my own custom builds, and the process hasn’t changed much beyond the tools.
The key is patience and a steady hand, not brute force. Most modern motherboards make it almost foolproof, but a few simple precautions will save you from frustration (and a bent RAM stick).
Before you begin, gather your new RAM modules, a small Phillips-head screwdriver, and an anti-static wrist strap (or just touch the metal case often to discharge static). Check your motherboard manual for slot compatibility—DDR5 won’t fit DDR4 sockets, and mixing kits can cause instability.
I always start with the lowest slot (usually Slot 1) for single sticks or pair them symmetrically (Slots 1+3 or 2+4) for dual-channel performance. The clips on the slots are designed to guide the RAM in—no need to force it.
Once the old RAM is out (if replacing), align the notch on the stick with the slot’s divider, then press firmly until the clips snap into place. You’ll hear a satisfying click when it’s seated correctly.
Boot into BIOS/UEFI (usually by pressing Delete or F2 during startup) to confirm the new memory is detected. If Windows doesn’t recognize it immediately, a quick restart often triggers the OS to pick it up. My first time, I missed the notch and bent a stick—now I double-check before pressing.
Troubleshooting is simple: if the PC won’t boot, reseat the RAM or test it in another slot. A single beep from the motherboard usually means it’s not fully locked in. For DDR5, ensure you’re using the correct voltage (check your motherboard specs).
Once working, you’ll see a noticeable speed boost—my old 8GB stick now runs at 3200MHz instead of 2400, making multitasking feel like a dream. Grab your screwdriver and let’s get started.
📚 In This Guide
- What you need
- Instructions
- Tips and common mistakes
- Wrapping up and next steps
What you need
- ● RAM module(s): Check your motherboard’s manual for supported type (DDR4/DDR5), speed (MHz), and capacity (GB). Match the pin count (e.g., 288-pin for DDR4).
- ○ Anti-static wrist strap (optional but recommended): Prevents static damage to components (ground it to a metal part of your case).
- ● Phillips-head screwdriver: Only needed if your RAM slots have screws (most don’t).
- ● Flashlight or headlamp: Helps you see tight slots and labels clearly.
- ○ Compressed air (optional): Clears dust from your case and RAM slots.
- ● Power off your PC and unplug the power cable to avoid electrical hazards.
- ● Ground yourself by touching the metal part of your case before handling components.
- ● Check your motherboard manual for RAM slot layout (e.g., dual-channel pairing).
- ● Ensure your PSU is stable (no flickering lights or noises).
Step-by-step instructions for installing RAM in a desktop PC
Here's how I install memory modules safely—no stress, no static shocks, and no guesswork.
Power Down and Prepare Your Workspace
Start by shutting down your PC completely and unplugging the power cable. I always hold the power button for 5 seconds afterward to discharge any residual energy in the motherboard. This prevents static electricity from damaging sensitive components when you handle the RAM.
Place your PC on a clean, flat surface with good lighting. Remove the side panel—most cases use thumbscrews or snap-fit panels. If your case has a metal chassis, touch it to ground yourself before handling the RAM modules. Static electricity can still be an issue even if you're not wearing an anti-static wrist strap.
Locate and Remove Existing RAM (If Needed)
Open the RAM slot clips by pressing down firmly on the small plastic tabs at the ends of each slot. You'll hear a click—they should pop open about 30 degrees. If you're upgrading, gently pull the old modules straight up to remove them. Don't wiggle them side-to-side, as this can damage the connectors.
Take note of how the modules are oriented. Most RAM sticks have a notch on one side—this aligns with a corresponding missing tab in the slot. If you're installing new modules, match the notch to the slot's missing tab. Never force a module into a slot—it should slide in smoothly.
Install the New RAM Modules
Align the notch on your new RAM module with the missing tab in the slot. For most motherboards, you'll want to install the modules in the A2 and B2 slots (check your motherboard manual for the exact pairing). Push down firmly but evenly on both ends of the module until you hear a click—this means the clips have latched securely.
If you're installing just one module, place it in the first slot (usually slot 1 or A1). Some motherboards won't boot with a single module in slots 2 or 3. Double-check that the module is seated fully by looking for the clips covering the sides—they should be flush with the slot.
Reassemble and Power On
Replace the side panel and reconnect the power cable. Before booting, I always double-check that all other components—like the GPU and CPU cooler—are properly seated. A loose cooler or GPU can cause boot failures, and you might blame the RAM when the real issue is elsewhere.
Power on your PC and listen for the POST beep (a single beep usually means success). If you hear no beeps or repeated beeps, power down immediately, reseat the RAM, and check if the modules are fully inserted. Most motherboards display a RAM-related error code on-screen if there's an issue.
Verify Installation in BIOS and Windows
Enter your motherboard's BIOS (usually by pressing Delete or F2 during boot). Navigate to the Memory section—you should see the correct total RAM capacity and speed (e.g., 16GB DDR4-3200). If the speed is lower than expected, your motherboard might be running the RAM in XMP/DOCP mode—enable this in BIOS for full performance.
In Windows, open Task Manager (press Ctrl+Shift+Esc) and check the Performance tab. Under Memory, confirm the total installed RAM matches what you just installed. Run a quick benchmark using Windows Memory Diagnostic (search for it in the Start menu) to ensure stability. If the test passes, your RAM is installed correctly.
Tips & tricks for stress-free RAM installation
Installing RAM doesn't have to be intimidating—these practical tips will help you avoid common pitfalls and feel confident every step of the way.
Grounding is Critical: I can't emphasize this enough—static electricity is the silent enemy of RAM installation. Beyond touching the metal chassis, consider using an anti-static wrist strap if you're working in a carpeted room or dry environment. If you don't have one, ground yourself by touching the metal chassis repeatedly before handling the RAM. This simple step prevents those frustrating "no boot" scenarios that make you question your installation.
Slot Pairing Matters: When installing two RAM modules, always place them in slots that are paired for dual-channel performance (like A2 and B2). Your motherboard manual will specify these pairs—don't just install them in consecutive slots. This pairing can improve system performance by up to 10% in memory-intensive tasks. If you're unsure which slots are paired, check the motherboard layout diagram in your manual or look for colored brackets that indicate matching pairs.
The 5-Second Rule for Power Discharge: That 5-second hold on the power button after shutting down is more important than it seems. It fully discharges the motherboard capacitors, which can hold residual energy even after the system appears powered off. I've seen cases where this step was skipped, and the RAM wouldn't seat properly due to static buildup. Think of it as the computer equivalent of letting a car sit before working on the battery—safety first.
Visual Confirmation is Key: After installing your RAM, don't just assume it's seated properly. Look for the clips on either side of the slot to fully cover the RAM module—this means it's securely in place. If the clips don't cover the sides completely, gently press down until you hear that satisfying click. Also, check that the notch on the RAM aligns perfectly with the missing tab in the slot. A misaligned notch is a common reason for boot failures that can be easily avoided with a quick visual inspection.
Pro Tips for Install Ram In A Desktop Pc
- Installing RAM doesn't have to be intimidating—these practical tips will help you avoid common pitfalls and feel confident every step of the way.
- Grounding is Critical: I can't emphasize this enough—static electricity is the silent enemy of RAM installation.
- Slot Pairing Matters: When installing two RAM modules, always place them in slots that are paired for dual-channel performance (like A2 and B2).
Frequently asked questions
Got questions about installing RAM? You’re not alone! Here are answers to the most common concerns—so you can upgrade your PC with confidence.
Can I install RAM myself, or should I get a professional?
Installing RAM is one of the easiest PC upgrades—no soldering or technical expertise required. Just follow the steps carefully, and you’ll be done in minutes. If you’re nervous, watch a video tutorial first for extra reassurance.
What happens if I mix RAM types (e.g., DDR4 with DDR3)?
Mixing RAM types won’t work—your motherboard only supports one type (check your manual). If you’re unsure, buy RAM matching your existing sticks (e.g., same speed, voltage, and brand). For best performance, use identical pairs or kits.
How long does it take to install RAM?
Most beginners finish in 5–15 minutes, including reading instructions and double-checking connections. Speed bumps? Only if you’re unsure about slots or alignment. Pro tip: Work on a clean, static-free surface to avoid damaging components.
Is it worth upgrading RAM if my PC is slow?
Maybe! RAM upgrades help with multitasking (e.g., gaming + streaming) or running memory-heavy apps (like video editing). Run Task Manager → Performance to check your RAM usage. If it’s maxed out often, upgrading is a smart move.
Can I use old RAM alongside new RAM?
Yes, but only if they’re compatible (same type, speed, and voltage). For example, you can add 16GB DDR4 to existing 8GB DDR4, but mismatched speeds may reduce performance. Pairing identical sticks (e.g., 2x8GB) is ideal for dual-channel mode.
What if my PC doesn’t recognize the new RAM?
First, reseat the RAM (remove and reinsert it firmly). If the issue persists, check BIOS settings (enable XMP/DOCP for overclocking) or test the RAM in another slot. If it still fails, the RAM might be faulty—contact the seller for a replacement.
Wrapping up and next steps
You’ve made it! Installing RAM in your desktop PC is simpler than it seems—just follow the steps carefully, and you’ll be upgrading your system in no time. 🎉 With the right tools and a little patience, you’ve taken a big step toward boosting your computer’s performance.
Now that you’re confident in this process, why not explore other upgrades, like adding more storage or improving your cooling system?
Happy building, and may your PC run smoother than ever! 🚀