
Operating System
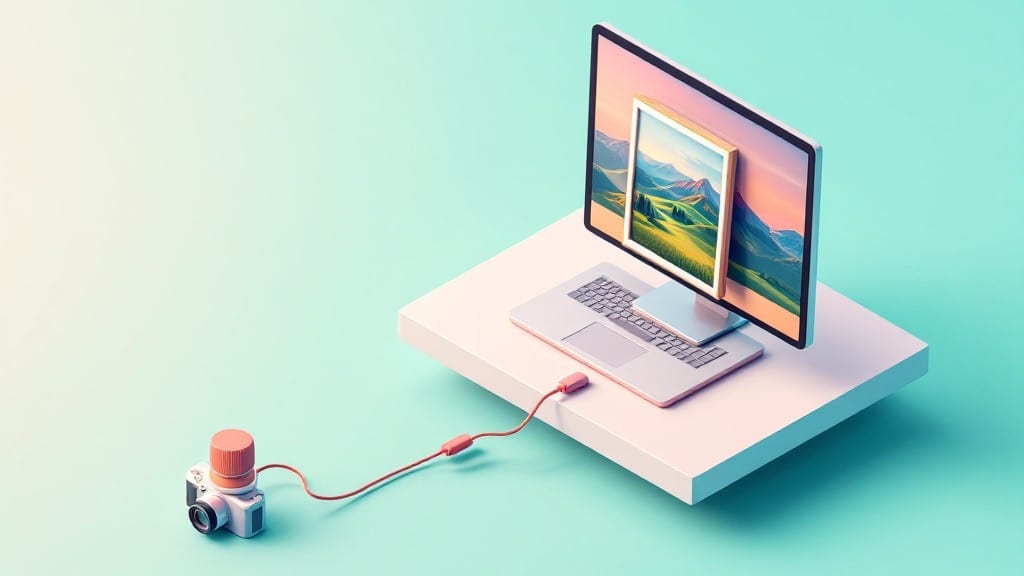
Downloading pics from your camera to computer doesn’t have to be a hassle—once you know the trick, it’s easier than ever, and I’ve helped dozens of friends do it, from my dad’s old Canon DSLR to my niece’s. GoPro—get their pictures backed up without pulling their hair out.
The secret isn’t some hidden setting; it’s just matching the right method to your camera type and computer.
Most cameras today connect via USB like a flash drive, but older DSLRs or action cams might need a memory card reader for speed. Windows, macOS, and Linux all handle this differently—some pop up a photo viewer automatically, while others hide the files in File Explorer or Finder.
I’ll walk you through every scenario, including what to do if your computer doesn’t recognize the camera at all. No tech degree required.
You’ll end up with all your photos safely backed up in seconds, organized by date, and ready to share or edit. We’ll also cover how to handle RAW files, avoid duplicate copies, and troubleshoot those pesky “device not detected” errors that make everyone groan.
Trust me, this is the last time you’ll ever stress over this step.
Works for any camera—smartphones, point-and-shoots, or even that old film scanner my dad still swears by. Let’s get those pictures off that camera and into your life without the usual headaches.
📚 In This Guide
- What you need
- Instructions
- Tips and common mistakes
- Wrapping up and next steps
What you need
- ● Camera: Any digital camera (DSLR, mirrorless, or point-and-shoot) with a memory card.
- ● Memory Card Reader: Built-in: If your camera has a USB port (no extra tool needed!).
- ● External: A USB card reader (supports SD, microSD, or CF cards—check your camera’s card type!).
- ● Computer: Windows PC, Mac, or Chromebook with available USB ports (or Wi-Fi/Bluetooth for wireless transfer).
- ● USB Cable: Only needed if your camera connects via USB (check compatibility—some cameras require proprietary cables!).
- ● Memory Card: The one already in your camera (duh!).
- ○ Software (Optional but Helpful): Photo management tools like Adobe Lightroom, Google Photos, or Windows Photos (pre-installed on most PCs).
- ● File explorer (Finder for Mac, File Explorer for Windows).
- ● Cloud Backup Service: Google Drive, Dropbox, or iCloud (for automatic backups).
- ● External Hard Drive: For bulk storage if you’re transferring thousands of photos.
- ● Card Duplicator: If you want to create backups of your memory card without deleting originals.
- ● Portable SSD: For fast transfers and extra security.
Instructions for transferring photos from camera to computer
Here’s the straightforward method I use to get photos off my camera and onto my computer in minutes.
Connect the Camera to the Computer
Turn off the camera and remove its memory card. Most modern cameras use SD, SDHC, or microSD cards—check your camera’s manual if unsure. Insert the memory card into your computer’s SD card reader (usually built into laptops or available as a USB adapter). If your camera connects via USB, plug it in using the included cable.
For USB connections, wait until the computer detects the camera before opening any software. You’ll see a notification on your computer’s screen when the camera is recognized. If nothing happens, try a different USB port or cable—some older cameras need a direct USB connection rather than a hub.
Open File Explorer and Locate the Camera
On Windows, press Win + E to open File Explorer. Look for your camera under "This PC"—it should appear as a removable drive, often labeled "Camera" or "DCIM". On a Mac, open Finder and check the Devices section in the sidebar. If the camera isn’t listed, restart the connection or check your camera’s settings for USB mode (set it to MSC or Mass Storage mode).
Double-click the camera drive to open it. You’ll see folders like DCIM (Digital Camera Images) containing your photos. If you don’t see the photos, try ejecting and reinserting the card or restarting the camera.
Copy Photos to Your Computer
Select all the photos you want to transfer by pressing Ctrl + A (Windows) or Command + A (Mac). Right-click and choose Copy (or press Ctrl + C). Navigate to your desired backup location—like Pictures or a dedicated folder—and right-click to Paste. For large batches, consider copying directly to an external drive to avoid filling up your main storage.
Wait for the transfer to complete—progress is usually shown in the bottom-left corner of your screen. If the transfer stalls, check the USB connection or try copying files one folder at a time. For faster transfers, use a USB 3.0 port if available.
Eject the Camera or Memory Card Safely
Once the photos are copied, right-click the camera drive in File Explorer and select Eject (Windows) or Eject in the Finder sidebar (Mac). Wait for the confirmation that it’s safe to unplug. If you see a message like "The device is in use", close any open photo viewers or editing software before ejecting.
Unplug the USB cable or remove the memory card carefully. For cameras, turn them back on if needed—some require the card to be ejected in-camera first. Always eject properly to avoid corrupting files or damaging the card.
Organize and Verify Your Backups
Open the folder where you saved the photos and check that all files transferred correctly. Look for the expected number of images and verify file sizes—missing or corrupted files will appear much smaller. If photos are missing, recheck the camera’s memory card for hidden folders or try transferring again.
For long-term storage, consider compressing the files into a ZIP archive or moving them to cloud storage like Google Photos or iCloud. Label folders by date or event to keep things organized—this saves time when you need to find specific photos later.
Tips & tricks for instant photo transfers without hassle
These little-known tricks will make your photo transfers smoother and save you from the frustration of lost files or failed connections.
Card Reader vs. USB Connection: If you're using an SD card reader, always use the one built into your laptop or a dedicated USB adapter rather than a hub. I've seen transfers fail when using a multi-port hub because they don't provide enough power. For USB connections, try a different cable if your camera isn't being detected—some older cameras need the original cable that came with them.
Hidden Folders Check: In Step 2, when you open the DCIM folder, look for subfolders like "100MEDIA" or "PRIVATE" that might contain photos. I've had clients miss entire photo sets because they only checked the main DCIM folder. Also, some cameras create hidden folders for videos—check those too if you're missing files.
Transfer Speed Boosters: For large batches in Step 3, consider using a USB 3.0 port if your computer has one—it can transfer files up to 10 times faster than USB 2.0. If you're copying to an external drive, make sure it's formatted with NTFS for Windows or APFS for Mac to avoid file size limitations.
Verification Process: In Step 5, don't just count the files—compare the total size of the transferred photos with what's on your camera's card. I've seen cases where photos appeared to transfer but were actually corrupted. The file size check catches these issues before you realize your vacation photos are missing.
Pro Tips for Downloading Pics From Camera To Computer
- These little-known tricks will make your photo transfers smoother and save you from the frustration of lost files or failed connections.
- Card Reader vs.
- Hidden Folders Check: In Step 2, when you open the DCIM folder, look for subfolders like "100MEDIA" or "PRIVATE" that might contain photos.
Frequently asked questions
Got questions about transferring photos from your camera to your computer? Here are some of the most common ones—and their quick fixes! Whether you're dealing with slow transfers, missing files, or compatibility issues, we’ve got you covered.
Why won’t my camera connect to my computer?
If your camera isn’t being detected, try these steps: Use the original USB cable (or a high-speed one), restart both devices, and check if your camera is set to Mass Storage Mode or PTP Mode. Some cameras require a driver update—visit the manufacturer’s website for help.
How long does it take to transfer photos from a camera to a computer?
Transfer times vary based on file size, USB speed (USB 3.0 is faster), and camera model. A few hundred photos can take 2–10 minutes, while thousands may take 15–30 minutes. For speed, use a USB 3.0 port and avoid multitasking on your computer.
Where do the photos save on my computer?
By default, photos usually save in DCIM folders inside your camera’s drive (e.g., E:\DCIM\100MSDCF). For easier access, drag and drop them into a dedicated folder like Pictures or a cloud service like Google Photos or Dropbox.
Can I transfer photos without a USB cable?
Yes! If you don’t have a cable, try these alternatives:
- Wi-Fi Transfer: Use apps like Google Photos (upload to cloud) or Epson Eye-Fi (for select cameras).
- SD Card Reader: Remove the SD card and plug it directly into your computer.
- Bluetooth/Wi-Fi Direct: Some cameras (like Sony or Canon) support wireless transfers—check your manual.
What if my photos disappear after transferring?
Don’t panic! First, check the Recycle Bin (or Trash on Mac). If they’re gone, your camera might still have them—reconnect it and transfer again. For extra safety, always eject the camera properly (right-click the drive > Eject) to avoid corruption.
Wrapping up and next steps
Downloading photos from your camera to your computer doesn’t have to be a hassle—with the right tools and steps, you can create instant backups in seconds!
Whether you’re using a USB cable, wireless transfer, or cloud services, the key is choosing a method that fits your tech comfort level and device setup. Pro tip: Always double-check your storage space and organize files right away to keep your digital memories safe and easy to find.
Now that you’re equipped with the know-how, go ahead and transfer those precious shots—your future self (and your camera’s memory card) will thank you! 📸✨ Next up: Try setting up an automated backup system for even smoother workflows in the future.